
Ceramic Slab Pot Lesson Clay Box Project Ceramics Handbuilding Art Activity
Instant digital download · Secure checkout with Payhip
Selected reviews from TPT
★★★★★Clear. Precise directions for the students. Projects turned out great!
Teaching is Life · August 2021 · TPT review
Overall rating on TPT: 5.0 out of 5 from 1 ratings (see every rating on TPT). These are selected 4- and 5-star written reviews by teachers on TPT (Teachers Pay Teachers), shown word for word. TPT's newer 4-point scale ("Extremely satisfied" = 4) is converted to stars.
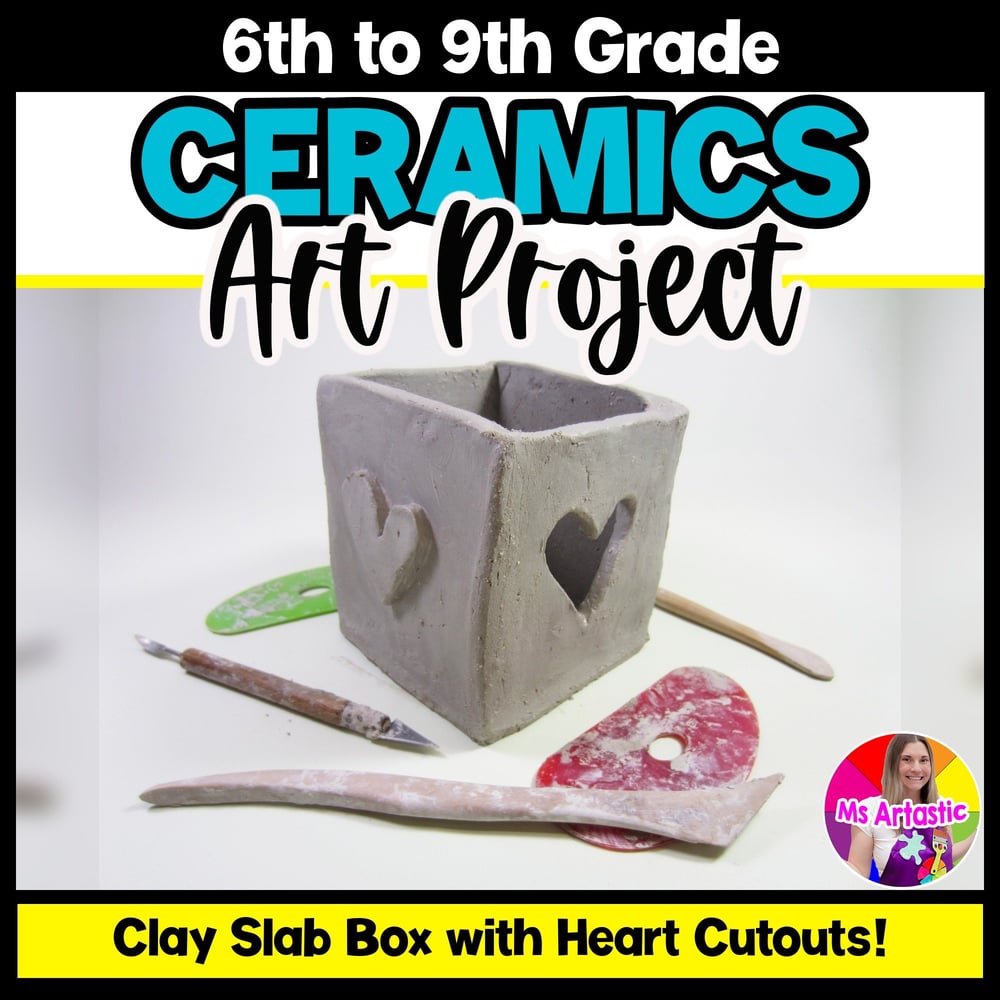
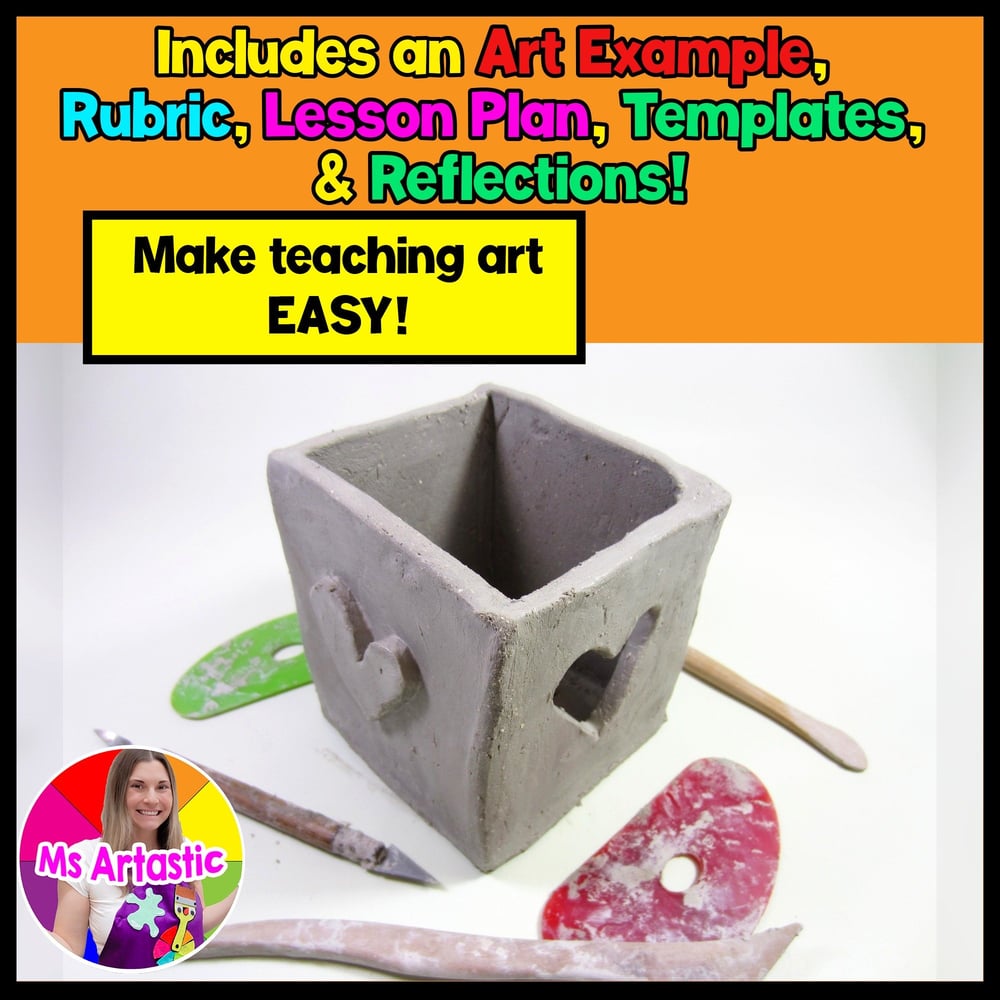
In this ceramic slab pot lesson, students build a clay box using slab building, score and slip and decorative surface details. The finished pot can be functional or decorative, and the steps are broken down clearly so students can follow along.
It is a structured ceramics handbuilding project for art teachers, classroom teachers and homeschool educators, and suits upper elementary and middle school art. Students can choose from several clay box templates or create a custom design, and you decide how to finish the fired work with glaze, underglaze, acrylic paint or watercolor paint.
WHAT'S INCLUDED (NON-EDITABLE)
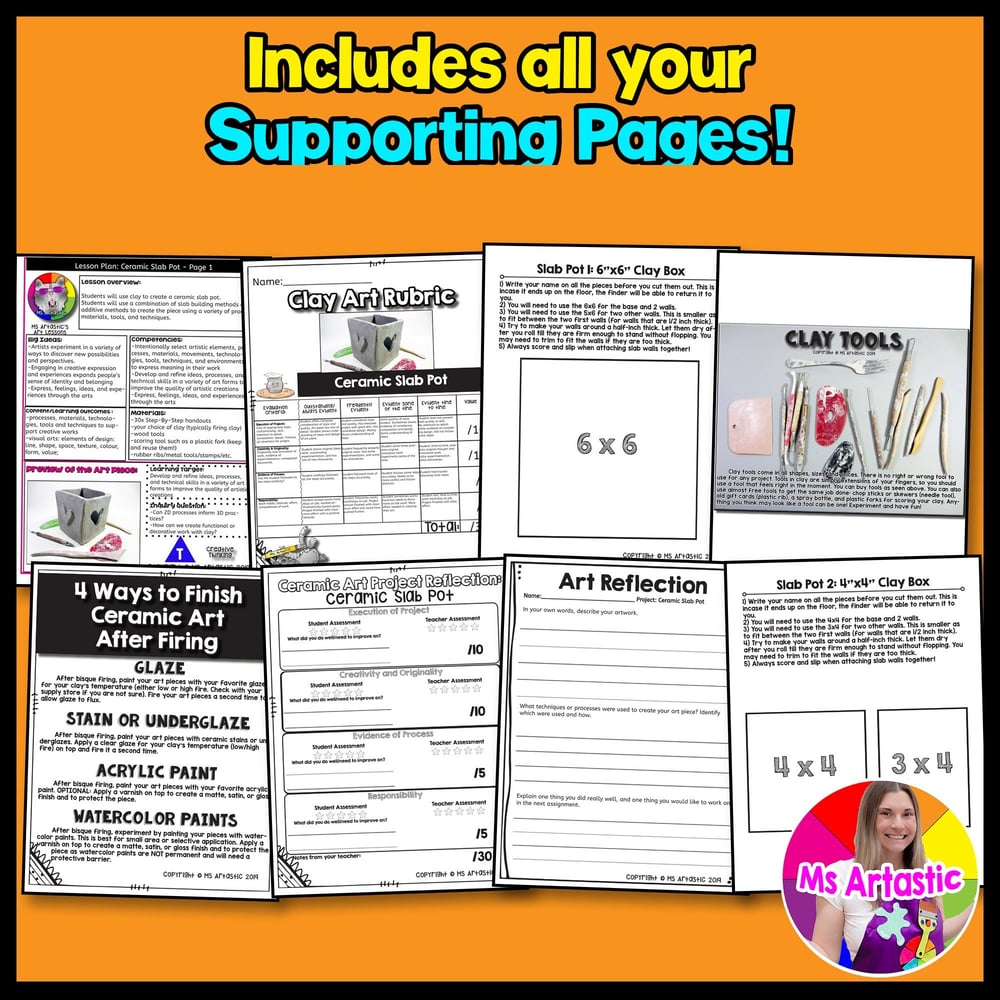
- Lesson Plan Page 1 with the lesson focus, big ideas, materials, competencies, learning target, inquiry questions and a preview of the finished pot
- Lesson Plan Page 2 with a step-by-step Teacher Does / Student Does sequence from introduction to drying
- How To Prep and How To Use Page
- Build Only Teaching Note explaining that the lesson covers building, and you choose how to finish it
- 4 Ways to Finish Ceramic Art After Firing Page: glaze, stain or underglaze, acrylic paint and watercolor paint
- Clay Tools Page with common tools and low-cost alternatives like plastic forks, gift cards and chopsticks
- Clay Art Rubric for execution, creativity and originality, evidence of process and responsibility
- Ceramic Art Project Reflection Page for teacher and student scoring and feedback
- Art Reflection Page
- Artist Statement Page
- Example Artwork Page
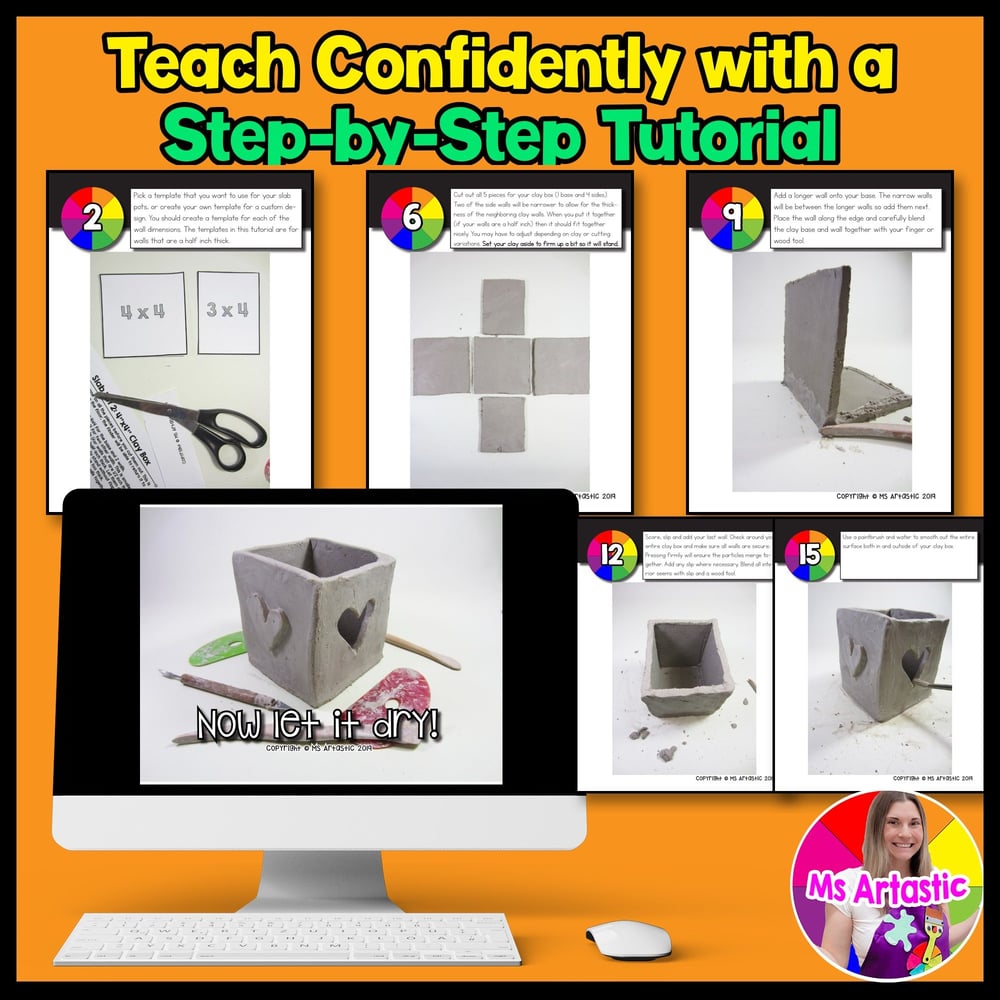
- Step-by-Step Summary Pages from rolling slabs through smoothing and drying
- 4 Clay Box Template Sets: 6x6, 4x4, 6x4x5 and 8x8
- Detailed Step-by-Step Tutorial Pages with visual and written instructions
HOW TO USE IT
Project the PDF, print the handouts students need, demonstrate each step and show the example pot as your hook. Students wedge the clay, choose a template, roll slabs to about half an inch thick, trace and cut the base and walls, let the clay firm up, and write their name on the base. They then assemble the box with score and slip, decorate the outside by cutting through or adding clay, smooth the surface with water and set the piece aside to dry.
Students learn slab building, wedging, template-based construction, 3D form and structure, surface decoration, craftsmanship and studio habits, and finish with reflection and an artist statement.
FAQ
Does this lesson teach glazing too?
No. It focuses on building the slab pot. After firing, you choose how to finish it with glaze, underglaze, acrylic paint or watercolor paint, depending on your resources.
What materials are needed?
Clay, wood tools and a scoring tool such as a plastic fork. Optional tools include rubber ribs, metal tools, stamps, or low-cost alternatives such as gift cards, spray bottles and chopsticks.
Does it include different size options?
Yes. There are 6x6, 4x4, 6x4x5 and 8x8 templates, so you can choose the size that fits your students, materials and class time.
How long does this lesson take?
Usually 2 to 4 classes, depending on student age, class length, clay experience, wall size, drying time and how much time you spend on decorating, smoothing and reflection.
Get free, classroom-ready art lessons and printables in my Free Art Lesson Library.
ABOUT THE AUTHOR
Kathleen McGiveron (Ms Artastic) is an artist, educator and resource creator who has been featured on NBC LX News and was the featured educator on the cover of OCO Magazine (October 2025). She designs art lessons for kids and educational resources for teachers. She is the founder of Ms Artastic and hosts the Ms Artastic YouTube Channel and Podcast.
TERMS OF USE
Images and lessons are copyright products.
YOU MAY: use this in creative ways and have as much fun with it as you like. For clip art, you may use the images as clip art, website graphics, binder covers or bulletin board decorations. Additional licenses are available for school use.
YOU MAY NOT: use this on OutSchool, put it on your blog, share it with other teachers, administration or districts (admin can buy additional licenses), sell it, give it out for free or photocopy it for others.
Sincerely,
Ms Artastic
Pairs Well With
Love this resource? Let me know